The VAG diagnosis interface VAS 6154 with wireless network technology surpasses remote diagnosis head VAS 5054A and diagnosis interface VAS 5055. It makes wireless transmission of data possible from the interface in the vehicle to the diagnosis unit.
VAS6154 vehicle coverage: VAS 6154 can be used with all VW Audi Skoda vehicles from 2000 onward including NEW & FUTURE MODLES.
To diagnose and program Seat, Bentley and Lamborghini, use VAS5054 V19 software
VAS6154 diagnostic interface for sale $100USD incl. shipping
VAS6154 can be used with the Offboard Diagnostic Information System Service from version 3.0.0, the newest software is ODIS 4.13.
This VAS 6154 Interface is the latest interface for the diagnostic and programming applications VAG ODIS-S (Service) and ODIS-E (Engineering).
Available for Off-board Diagnostic Information Engineering from version 6.2 onward and Off-board Diagnostic Information Service from version 3.0.3 onward.
VAS6154 ODIS 4.13 Software New Functions:
– Estimated remaining times are shown for ECU flash operations.
– Diagnostic protocol contains interruptions of GFF sessions, extended measurement values, improved ECU communication view,
used diagnostic hardware, connection type of diagnostic hardware, operating system, the hotfix used and submissions of support requests
– The measured value display has been improved.
– Documents in GFF are displayed in separate windows.
– One message box will be shown at the beginning of the test drive mode.
– GFF hotfixes can be integrated during diagnostic sessions.
– Danger messages have been revised.
– Stopping of diagnostic sessions may be interrupted.
– Automatic deletion of autosave diagnostic protocols after successful transmission.
– Selection of PassThru diagnostic hardware has been improved.
– ODIS Service Software update has been stabilized.
1.If a wireless connection is not possible/permissible, the USB module is used, which guarantees a reliable wired data transmission to the diagnosis unit.
2.VAS6154 Infrastructure mode:
In infrastructure mode, several network-capable devices can be connected together (network subscribers).
For a wireless network, a WLAN access point is required. This access point forms the connection to WLAN-ready subscribers.
3.VAS6154 Point-to-point connection:
With point-to-point connection via a wireless network, VAS 6154 creates a radio network. VAS 6154 thereby adopts the role of a radio access point (Access Point). A direct connection is made between the diagnosis unit and the diagnosis interface VAS 6154.
VAS 6154 is configured using the web-based user interface.
There are two VAS6154 equipment versions:
One version includes a wireless network and USB module One version has no wireless network module (the wireless network module can be retrofitted at any time provided national regulations permit).
Radio registration verified for the following countries:
A, AUS, B, BIH, BR, CDN, CH, CY, CZ, D, DK, E, EST, F, FIN, GB, GR, H, HK, I, IL, IND, IRL, IS, J, L, LT, LV, M, MEX,N, NL, NZ, P, PL, RA, RC, ROK, RUS,
S, SGP, SK, TR, UA, UAE, USA, ZA
VAS6154 technical parameter:
Dimensions: approx. 136x48x25mm
Weight: approx. 150g
Power supply: 8-18V via vehicle connector
Output: approx. 5W
Temperature range: Storage -20°C to +85°C, operation -20°C to +40°C
PC interface (wired): USB 2.0 High Speed, 480 Mbit/s or Fast Ethernet, 100Mbit/s (via LAN module)
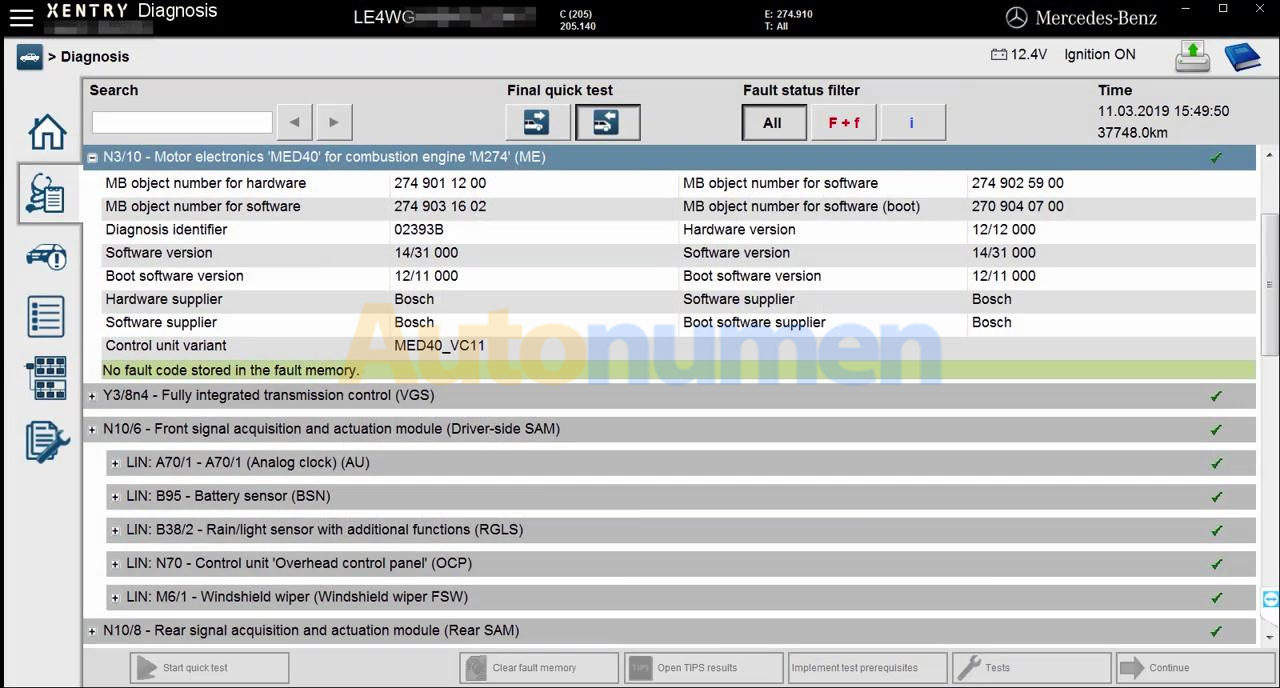
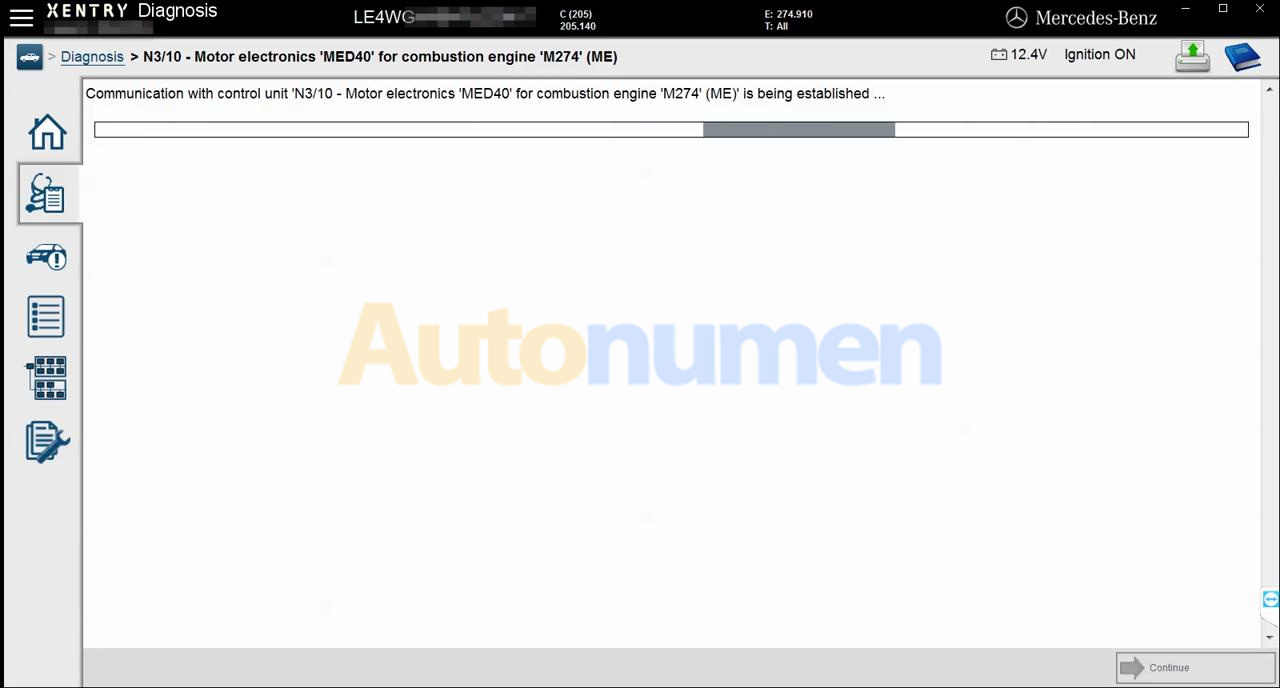
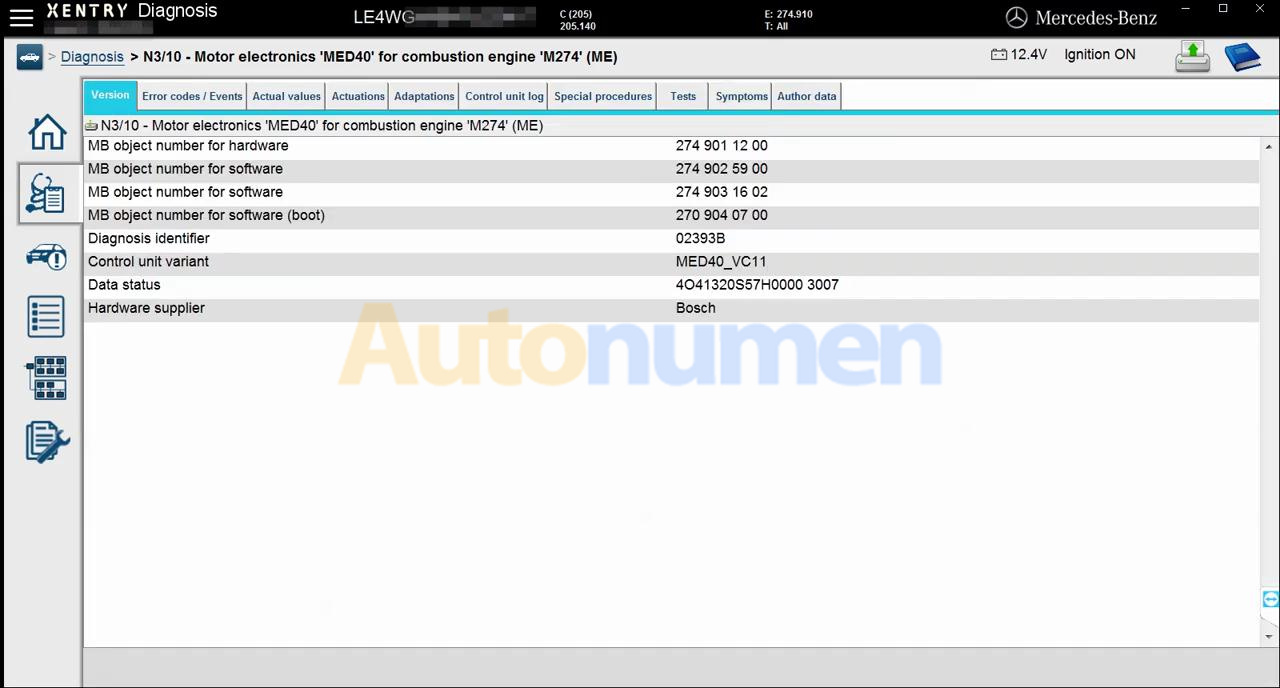
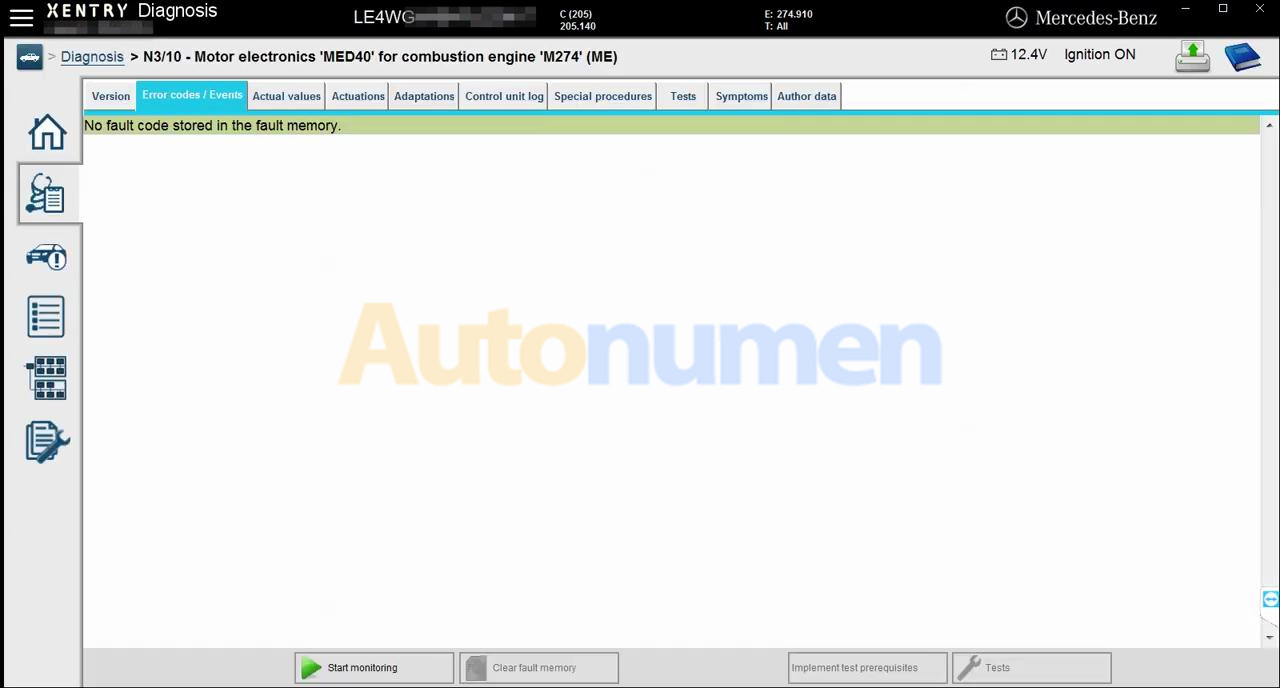
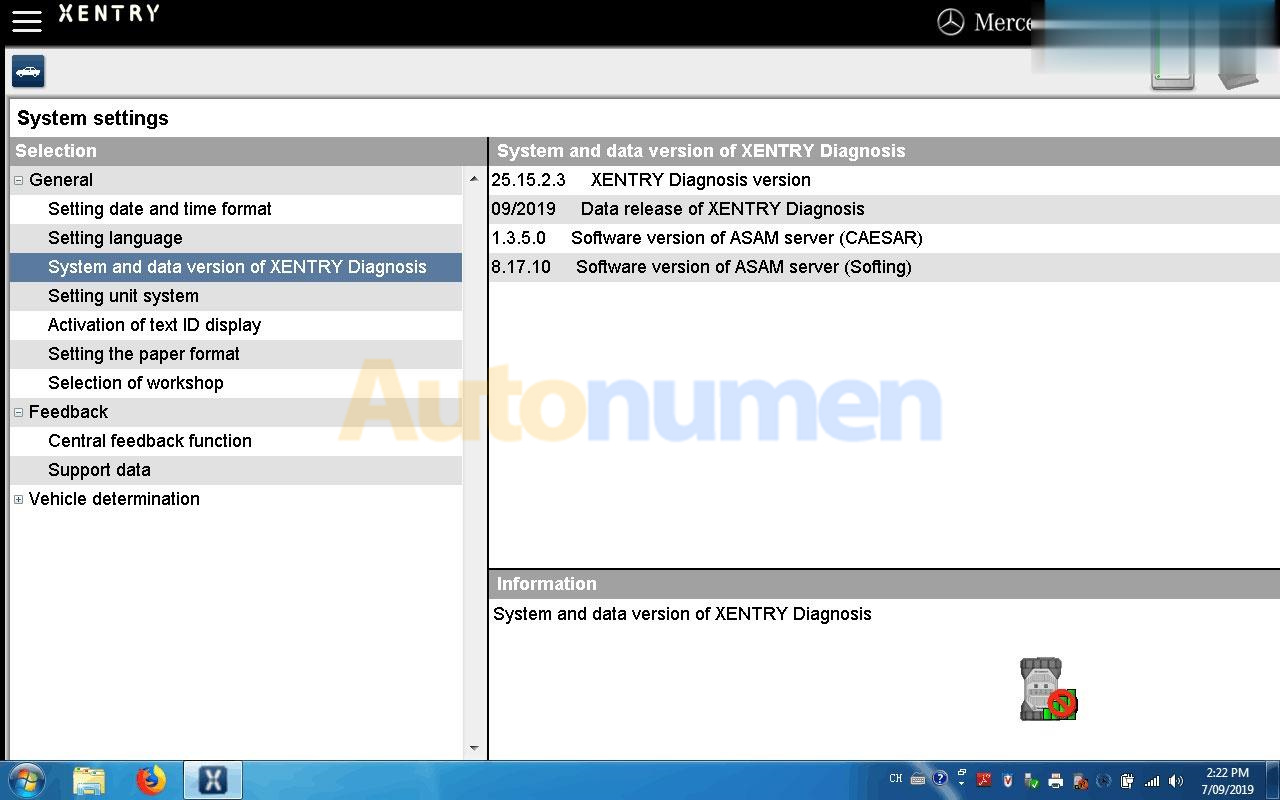
Latest Benz diagnostic software Xentry 2019.09 has been tested and verified working great with VXDIAG Benz C6 and VCX Plus systems by Autonumen.com engineer.
Software version: 2019.09
Requirement: update your C6 VCI DoIP or VCX to latest firmware version. Check here.
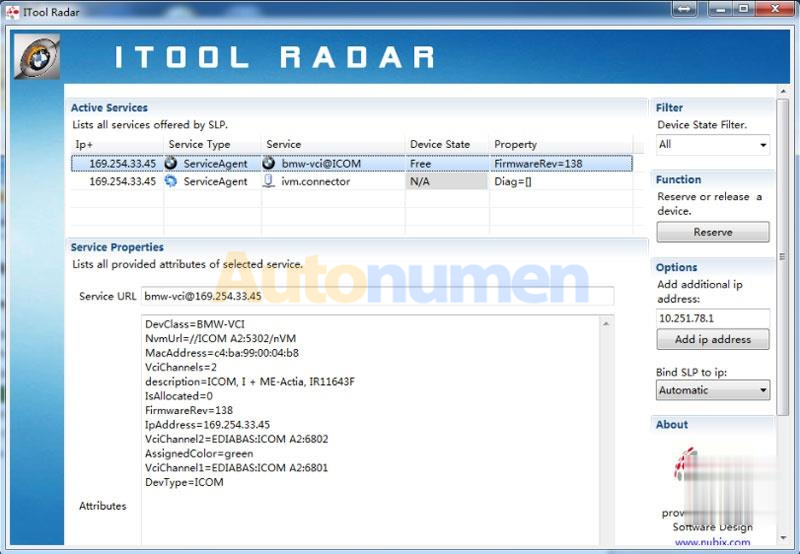
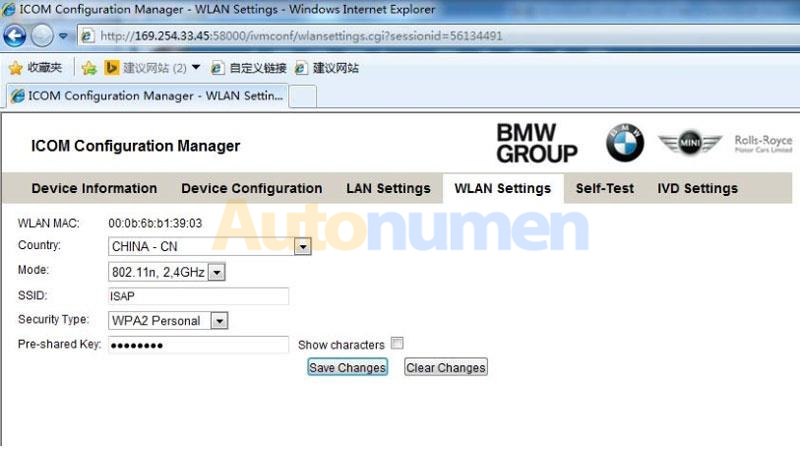
How to Configure BMW ICOM Next WLAN to enable WiFi connection?
1. Run ITool Radar to detect ICOM information
2. Open IE browser and enter ICOM configuration address (based on current real ICOM IP ) 3. Select WLAN Settings Enter WiFi settings Save Changes.
4. Disconnect LAN cable and restart ICOM, then ICOM will auto connect with WiFi .
5. If using our ICOM software and USB-WIFI, enter configuration as following: Mode:802.11n,2.4GHz SSID:ISAP Security Type: WPA2 Personal Pre‐shared Key: BmwAp24h
The powerful software uses enhanced OEM fault-code information with ACM resets and cylinder cut-outs capabilities.
Moreover, it has an inbuilt Next Step Services Information that helps speed up the time taken to repair a truck.
As a result, you will be able to access digital photos, complete wiring, and installation information. Finally, it comes with a troubleshooting guide that makes diagnosis a no-brainer task. Features and functionalities
Here a comprehensive look at the features. 1. Bi-directional controls It is capable of performing parameter changes for Volvo and Mack.
Equally, JPRO Professional heavy-duty truck scan tool can perform DPF Regens for Detroit Diesel, Cummins, Volvo, Mack, and Internationals.
All these tests are bi-directional with proprietary faults and data. 2. OE level fault code information
Display 99% for both medium-duty and heavy-duty fault codes with a comprehensive OEM level component as well as the trailer descriptions. 3. Include heavy and medium-duty modules
Heavy-duty modules include PACCAR, international, Detroit Diesel, Cummins, Volvo, and Mack. The medium-duty modules include sprinter, Isuzu, GM, and Ford. 4. Fault management
It is capable of clearing faults as well as making a quick diagnosis with easy to use application. 5. Vehicle reporting
With the heavy duty diagnostic scanner JPRO Professional scan tool, you can view and subsequently print logo files comprising LOV reports, Trip Reports, and Vehicle Health. 6. Store and save data
Effectively record all the data log files with playback capabilities even when not connected to the truck. 7. Comprehensive vehicle health status
In a single pass, you can be able to see the entire vehicle. 8. JPRO professional user diagnostic software
It has powerful software, a DLA 2.0 adapter, and the Panasonic Toughbook for enhanced diagnosis. 9. Ease of use and compatibility
It has 9-pin Heavy-Duty Cable, OBDII Cables, 6-pin Heavy-Duty Cable, and USB Cable.
JPRO Professional heavy-duty truck scan tool is a highly effective diagnostic tool with many advantages.
OBDSTAR X300DP PLUS IMMO and Cluster Calibration Latest Upgrade on March.16,2020
Kia [V30.71] Upgrade
Increased Forte 2018- remote system (North America) Increased Ria 2019- remote system (North America) Increased Sportage 2018-2020 remote system (North America) Increased Sorento 2019-2020 remote system (North America) Hyundai [V30.80] Upgrade
Increased Accent 2019-2020 remote system (North America) Increased Elantra 2018- remote system (North America) Increased Sonata 2017- remote system (North America)
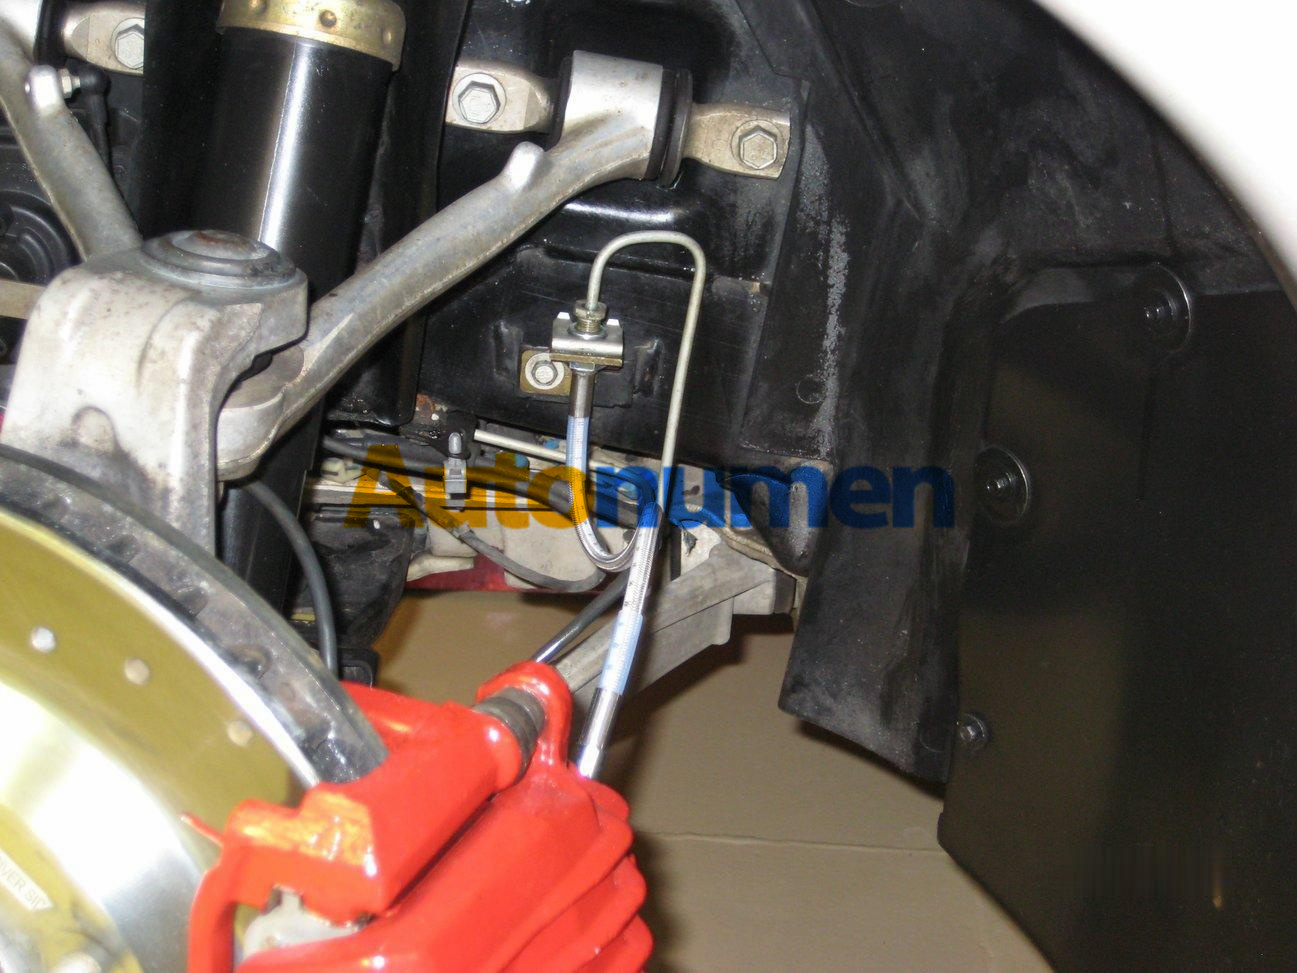
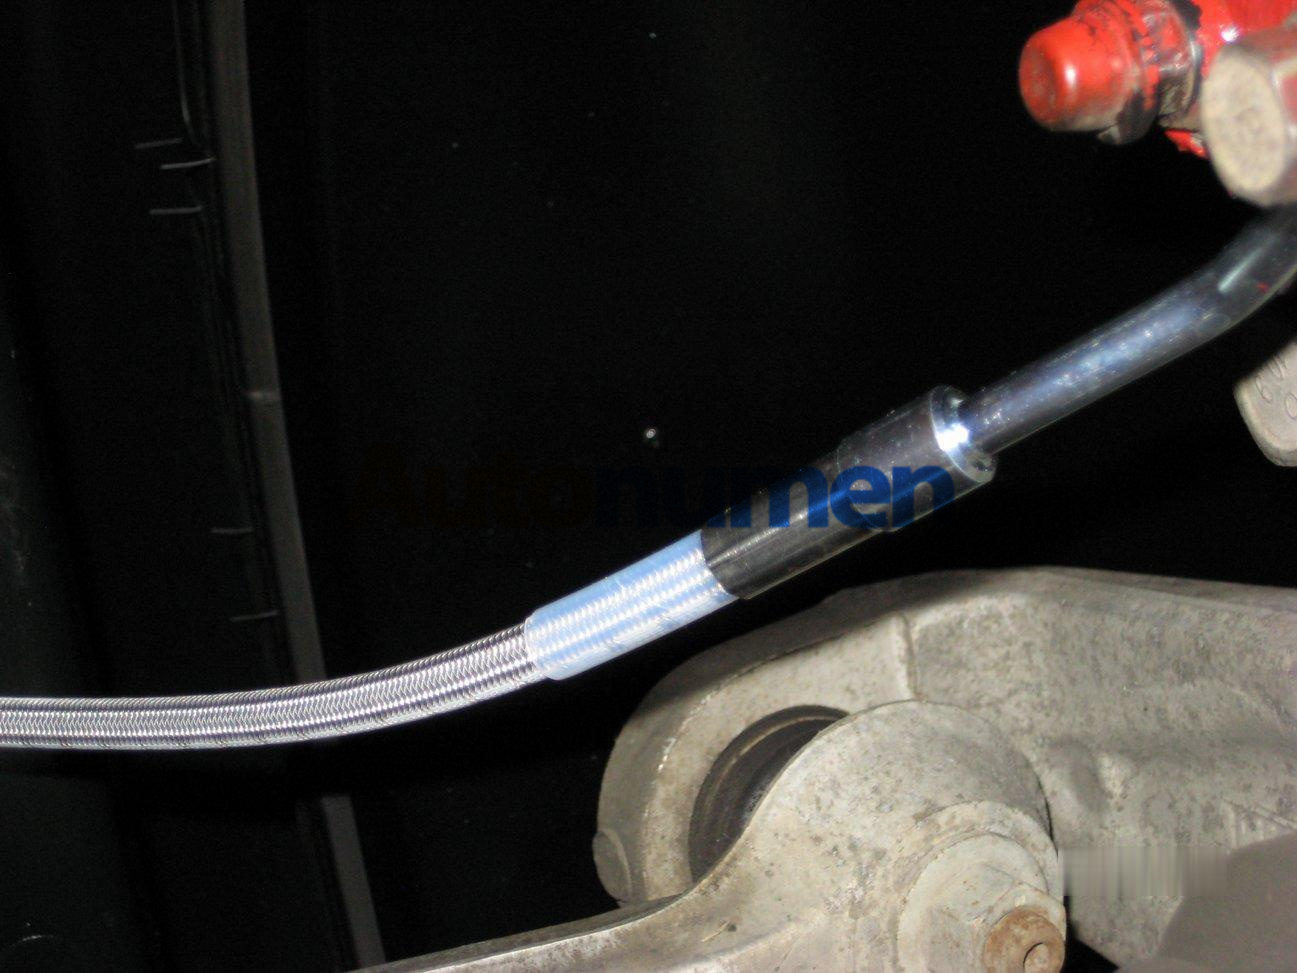
1999 Corvette Coupe: with replace brake hoses with steel braided. Gravity bled. How to bleed with GM Tech2 successfully. all 4 corners as I replaced hoses.
1. Attached power bleeder and install hoses on all 4 bleeders to reduce chances of brake fluid going where I didn’t want !!!!
2. Attached Tech 2 followed someone else’s post on the steps (don’t remember who)
3. Powered on the Tech 2. Tech 2 passes power on self-test
4. Turn ignition to on position, did not start engine
5. Opened Tech 2 main menu The screen shows:
• F0 Diagnostics
• F1 Service Programming System
• F2 View Captured Data
• F3 GM Performance Parts Diagnostic
• F4 Tool Options
6. Selected F0, Diagnostics
7. Selected Model year (2000)
8. Selected Passenger Car
9. Selected F2 Chassis
10. Selected Product Line (Y) “establishing communication” seen on screen
11. Screen displayed: CAUTION: “ABS Braking is not available when ABS/TCS lamps are illuminated” (Note: I had no Codes related to the ABS or TCS and no light on the dash)
12. Pressed the “continue” key selection. The right-most softkey was highlighted.
13. Screen Reads: “Chassis”
• F0 ABS/TCS/Magnasteer
• F1 RTD
14. Selected F0, ABS/TCS/Magnasteer
15. Screen Reads:
• F0 DTC
• F1 Data Display
• F2 Special Functions
• F3 Snapshot
• F4 ID information
16. Selected F2 Special Functions
17. Screen Reads: (Note, I think I should have a function key at this step for Automated Bleed, but it is not there)
• F0 Automated Test
• F1 Solenoid Test
• F2 TCS Test
• F4 TCS Switch Information
• F5 Steering Position Sensor Test
18. Selected F0 Automated Test
19. Screen showed ready for test and a softkey highlighted for CONTINUE.
20. Pressed CONTINUE softkey
21. ABS pump activated for a second or two, and the car beeped twice, so I know the Tech 2 it talking to the car.
22. Then just followed the steps the Tech 2 showed, as you followed the steps you can hear and feel the pump and actuators cycling !!!!!!!
7. told me I was done !!!!!
My take !!!!!!! the fluid in my system was dark but did not look very contaminated, after the bleed process I am comfortable that my active handling is trouble free !!!! (had no issues to begin with, but never had to test on the road)
23. my opinion is a car that is subject to extreme conditions (hot and cold) may build up more condensation in the brake fluid thus rusting the EBCM parts ????
24. I purchased the Clone Tech 2 for this function alone, have now used it for various things and so glad I bought it !!!!!
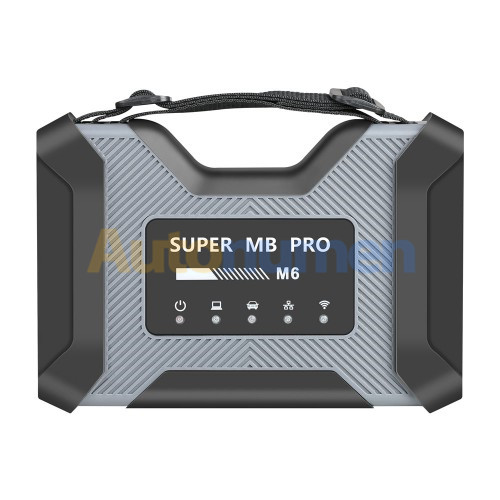
1.SUPER MB PRO M6, with the strong penetration of wireless test and WIFI signal, relieves the dependency on communication transmission cable during test, and greatly reduces restriction on testing distance. The device, adopts the framework concept of original C6 diagnostic tool, is able to replace original MB Star C4. Durable and easy to carry. 2. SUPER MB PRO M6 is the only diagnostic tool on the market that is highly consistent with the original MB Star C6: 1) Fully compatible with the original software. 2) You can directly upgrade the newest firmware without installing additional driver.
3. ABS+PVT plastic structure adoption has the advantages as follows: 1) Impact-proof & easy to carry 2) Lower consumption on product shell against wireless signal 3) Great advancement of wireless communication distance & stability
4. SUPER MB PRO M6 adopts double-radiation mode (radiation fan & radiation fin). Radiation fan will automatically turn on high-power radiation mode when SUPER MB PRO M6 internal temperature over 35℃, greatly improving the stability and safety when programming.
5. Built -in network interface prevents deformation and damage from impact.
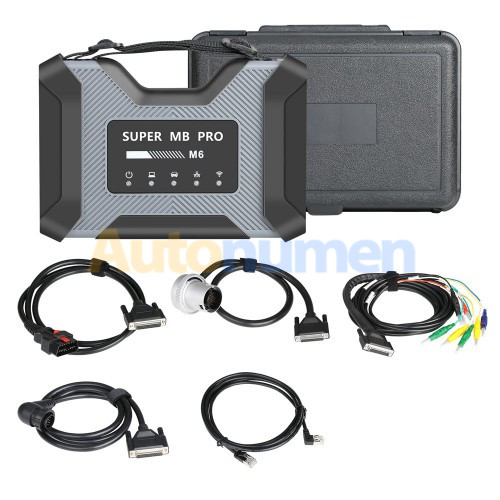
Look at the full package:
Contains: SUPER MB PRO M6 Main Unit, OBD2 16pin Cable, Lan cable, 38PIN Cable, 14PIN Cable and 4PIN Cable.
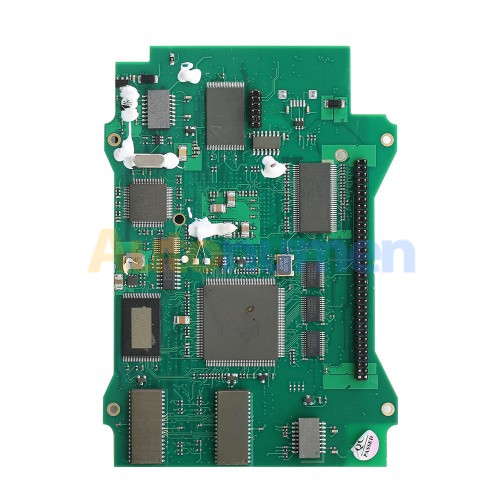
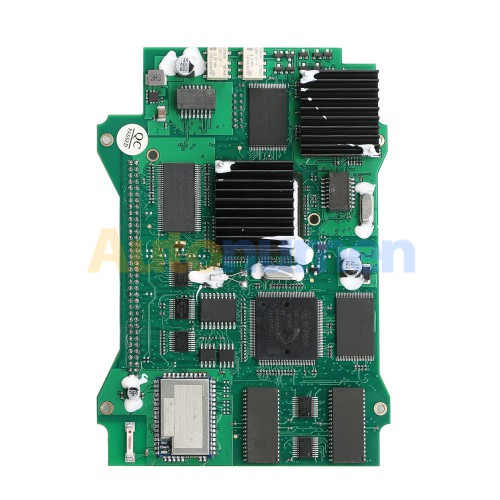
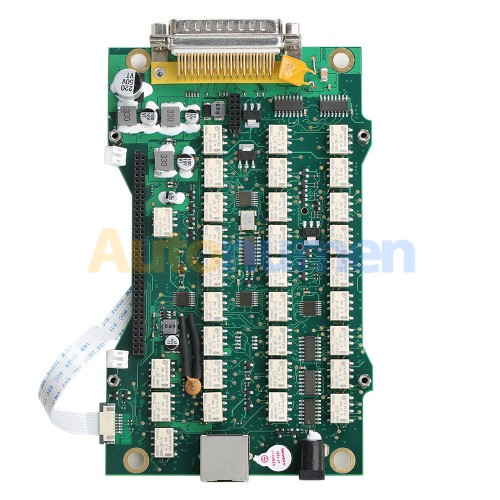
And look at the PCB board, it is good quality made.